Trezor.io/Start®**
Start securing your cryptocurrencies with Trezor at Trezor.io/start. Our intuitive setup guide ensures your digital assets remain safe from threats—get started now!
Last updated
Start securing your cryptocurrencies with Trezor at Trezor.io/start. Our intuitive setup guide ensures your digital assets remain safe from threats—get started now!
Last updated
Welcome to the Trezor community! If you’re eager to secure your cryptocurrency with a Trezor hardware wallet, you’re in the right place. This guide will help you navigate the setup process through Trezor.io/start, especially focusing on connecting your Trezor with external devices. Let’s dive in!
Trezor is a highly respected hardware wallet that provides a secure way to store your cryptocurrencies. By keeping your private keys offline, Trezor significantly reduces the risk of hacking and unauthorized access. Trezor supports numerous cryptocurrencies, making it an excellent choice for both novice and seasoned crypto enthusiasts.
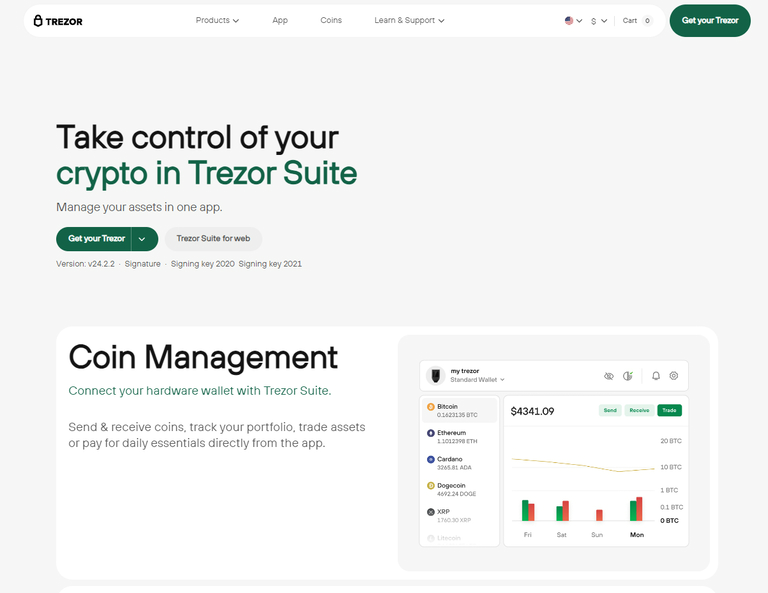
To get started, visit Trezor.io/start. This webpage serves as your launching point for setting up your Trezor wallet. The process is straightforward and user-friendly, making it accessible for everyone, regardless of technical expertise.
Purchase Your Device: If you haven’t purchased a Trezor wallet yet, ensure you buy it from an authorized retailer. This guarantees that you receive a genuine product.
Connect Your Trezor: Plug your Trezor device into your computer using a USB cable. If you’re using a Trezor Model T, you may also connect via Bluetooth.
Navigate to Trezor Web App: Open your preferred web browser and go to Trezor.io/start. The site will automatically detect your device and prompt you through the setup process.
Once you're on the Trezor web app, follow these steps to set up your wallet:
Choose Your Device: Select your connected Trezor device. The app will guide you through the initialization process.
Create a New Wallet or Restore an Existing One: If you’re a new user, opt to create a new wallet. For returning users, you can restore your wallet using your recovery seed.
Write Down Your Recovery Seed: Your Trezor will generate a recovery seed composed of 12 to 24 words. This seed is crucial for recovering your wallet if your device is lost or damaged. Write it down and store it in a secure location.
With your Trezor wallet set up, you can connect it to external devices for enhanced functionality. Here’s how to do it:
Install Trezor Bridge: If you’re accessing your wallet via a web browser, you might need to install Trezor Bridge. This software facilitates communication between your Trezor device and the web app. Follow the on-screen instructions to install it.
Linking with Third-Party Wallets: Trezor is compatible with several third-party wallets like Exodus, Electrum, and MyEtherWallet. To connect, simply choose the wallet you want to use and follow the provided instructions to link your Trezor device.
Using the Trezor Suite App: For those who prefer mobile management, download the Trezor Suite app available for Android and iOS. This app allows you to manage your cryptocurrencies on the go while maintaining the same security features.
After setting up your wallet and connecting it to external devices, it’s essential to focus on security. Here are some best practices:
Use Strong Passwords: Ensure your Trezor device and any linked accounts have strong, unique passwords.
Enable Two-Factor Authentication (2FA): Add an extra layer of security by enabling 2FA whenever possible.
Keep Software Updated: Regularly update your Trezor’s firmware to benefit from the latest security enhancements.
Getting started with Trezor at Trezor.io/start is a simple and secure way to manage your cryptocurrencies. By following the steps outlined above, you can easily set up your wallet and connect it with external devices. With Trezor, you can confidently navigate the world of cryptocurrency while ensuring your assets remain secure. Embrace the journey of crypto management with Trezor today!